Decorative Lamppost: Difference between revisions
Appearance
Initial page creation |
updated some images |
||
| Line 3: | Line 3: | ||
{{Infobox project | {{Infobox project | ||
|project_name = Decorative Lamppost | |project_name = Decorative Lamppost | ||
|image = | |image = Painted_with_sign.jpg | ||
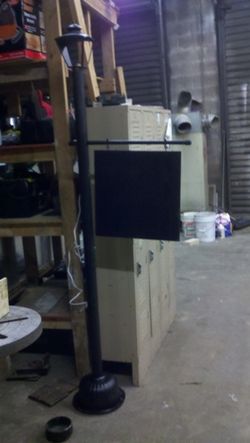
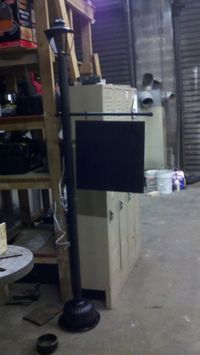
|caption = Lamppost in Progress | |caption = Lamppost in Progress | ||
|owner = critter42 | |owner = critter42 | ||
| Line 94: | Line 94: | ||
* Make sure power switch will be easily accessible after assembly | * Make sure power switch will be easily accessible after assembly | ||
[[File: | [[File:Painted_with_sign.jpg|200px|thumb|none|<i>Nearly completed lamppost</i>]] | ||
Revision as of 17:57, 25 January 2011
| Decorative Lamppost | |
|---|---|

Lamppost in Progress | |
| Information | |
| Owner | critter42 |
| Version | 1.0 |
| Status | In Progress |
| Started On | January 2011 |
Overview
MidSouthCon has an event called Street Corner Readings where authors can read their works to passersby. This year we decided to have an actual streetlight. Prebuilt decorative streetlights ran in the $70 - $100, while building it myself with found material would cost significantly less.
Features
- Design and style
- Approximately 6' 8" tall from base to top of sconce
- PVC Pipe post set in concrete
- Specialty bulb to simulate flickering flame of a Victorian-era gaslamp
- Arm with hanging sign that has been painted with chalkboard paint to allow authors/artists to write their name/work being performed
- Custom wired lamp cord to allow easy access to power switch.
Status
In Progress
- Post setting up in concrete anchor
To Do
- Solder and string lamp cable
- Prime and paint parts
- Assemble and test
Completed
- Acquisition of materials
- Prepping post
- Drilling arm and lamp cord holes
- Thinning top of post to allow better seating of sconce in pipe
- Trimmed base
- Prepping Lamp
- Disassembling and discarding unneeded parts
- Cleaning shell and glass
- Prepping and assembling arm and sign
Work Log
Prepping Post
- Cut post to length - 6'
- Drilling hole for arm
- Drilling holes in base to allow concrete to seep through and create anchor
- Drilling hole for lamp cord
- Thinned inside of top of post by approx 1/8"
Creating base
- Cut out 2" hole in bottom of plastic planter for post to pass through
- Mixed up ~9lbs concrete in bucket
- Trimmed bucket to fit underneath base cover
Prepping Lamp
- Disassembled lamp
- Discarded wall mount flange and lower finial
- removed old socket to clean lamp and glass (update: may replace socket)
- removed glass inserts for ease of cleaning and painting
Prepping Arm and sign
- Sign is 1.5' square with hooks placed 3" from either end on one side
- Drilled matching holes in arm
- Installed eyebolts and secured with screw and washer
Assembly
- Inserted post in concrete
- Due to the thickness of the base, concrete is going to cure for 1 week before any further work with post/base is done
Potential Future Improvements
- Frost glass - etched or spray-type
- Make battery-operated
- Switched on/off by touching lamp shell
- More decorative endcaps for arm
Lessons Learned
- Mix concrete in large container and then pour where needed
- Make sure power switch will be easily accessible after assembly

Tools Used for Construction
hack saw
drill
tape measure
round rasp
